18 Easy Snow Globe Crafts for Kids to Make This Winter
Summary
Snow globe crafts are a fun way for kids to bring a little winter magic to the craft table. With simple supplies like paper plates, cotton balls, cardstock, paint, and clear plastic containers, children can create their own snowy scenes.
These 18 snow globe crafts for kids include easy preschool projects, handmade Christmas ornaments, personalized photo keepsakes, and shakeable snow globes. Whether you’re planning a winter activity at home or looking for a thoughtful homemade gift, there’s an idea here for every little crafter.
Key Takeaways
- 18 creative snow globe crafts for kids of different ages.
- Easy paper snow globe projects for preschoolers.
- DIY snow globe keepsakes using family photos.
- Fun Christmas ornaments and handmade greeting cards.
- Waterless and shakeable snow globe ideas.
- Simple materials that are easy to find at home.
- Practical safety tips for crafting with young children.
Main Content
1. Paper Plate Snow Globe
A paper plate creates the perfect base for a homemade snow globe, giving children plenty of room to design their own little winter world. Cover the center with blue construction paper, then add a paper snowman, snowy trees, or a tiny house. Cotton balls create soft snowdrifts, while white paint adds falling snowflakes. Finish with a brown paper base and your child’s name and the year for a personalized keepsake.
Pro Tip: Use a sturdy paper plate and let children choose their own winter characters to make every snow globe unique.
2. Photo Snow Globe Keepsake

Turn a favorite childhood picture into a personalized snow globe craft that makes a lovely keepsake for family members. Cut a large circle from blue cardstock and place a cutout of your child’s photo in the center. Add white paper snowbanks and tiny snowflakes to create a cheerful winter background. Cover the finished design with clear self-adhesive film and attach a brown cardstock base for a polished finish.
Pro Tip: Choose a photo of your child wearing a winter hat or making a playful pose to give the finished craft extra personality.
3. Cotton Ball Snowman Snow Globe

This fluffy snowman snow globe is an easy winter activity for preschoolers who enjoy hands-on crafts. Start with a large blue cardstock globe and glue three cotton balls vertically to create a snowman. Add black paper eyes, a tiny orange nose, and a colorful paper scarf to bring the character to life. Finish with a cardstock base and white crayon snowflakes scattered around the scene.
Pro Tip: Prepare small paper details ahead of time so younger children can focus on gluing and decorating.
4. Plastic Jar Snow Globe
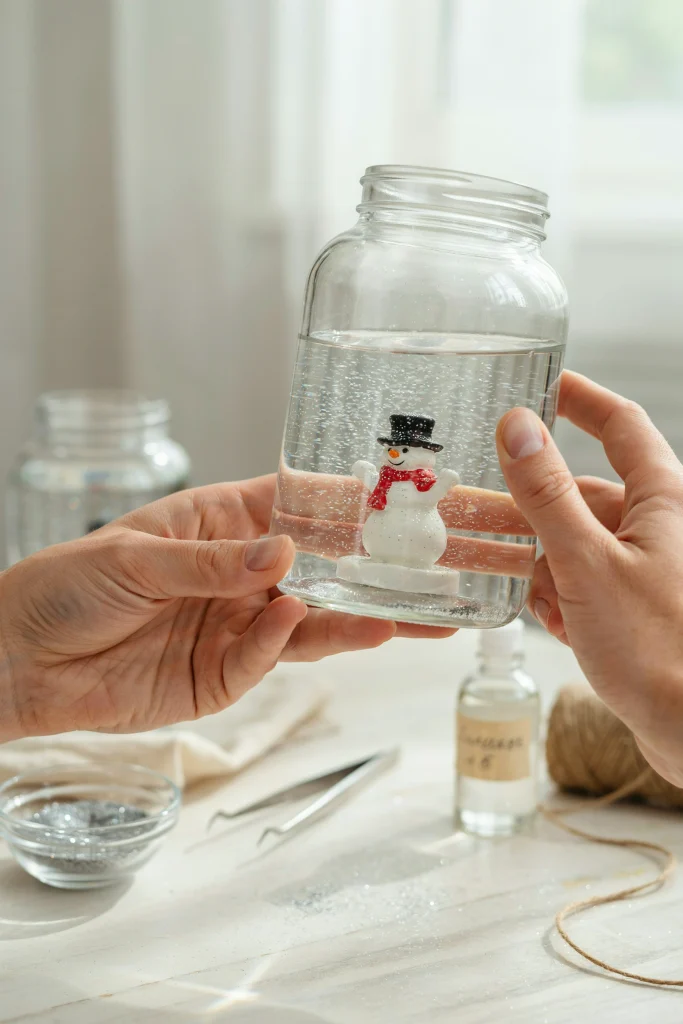
A clear plastic jar makes it possible for kids to create a snow globe they can gently shake and watch. Place a small waterproof figurine inside the lid using an appropriate waterproof adhesive, allowing an adult to handle the attachment and curing process. Fill the jar with water and a little craft glitter, leaving enough space for the figure. Secure the lid, test for leaks over a sink, and let the finished globe create a swirling winter scene.
Pro Tip: Choose waterproof plastic decorations without fabric, paper labels, or delicate painted details, and have an adult complete and inspect the seal before children handle the globe.
5. Waterless Snow Globe

A waterless snow globe is a lovely alternative when you want a winter decoration without the mess of liquid or loose glitter. Create a small folded cardstock stand and attach a paper snowman, tree, or little house so it stays upright inside a clear plastic jar. Add cotton-ball snow and white paper confetti around the scene before closing the lid. Finish by decorating the outside with a small paper label.
Pro Tip: Keep the finished jar upright on a shelf to protect the paper decorations and maintain the winter scene.
6. Clear Cup Snow Globe
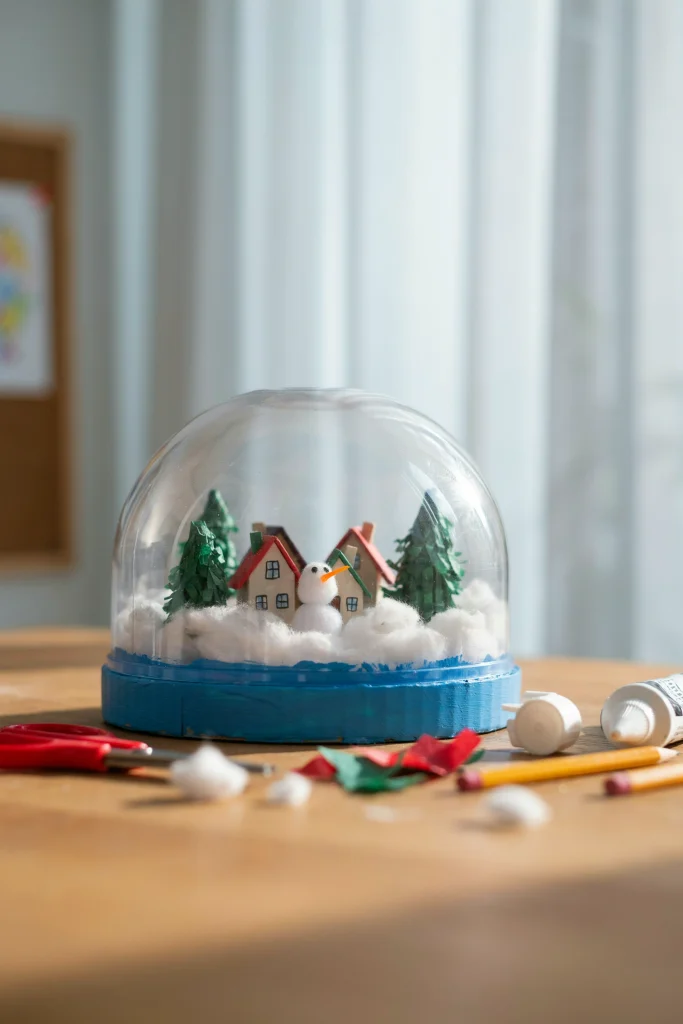
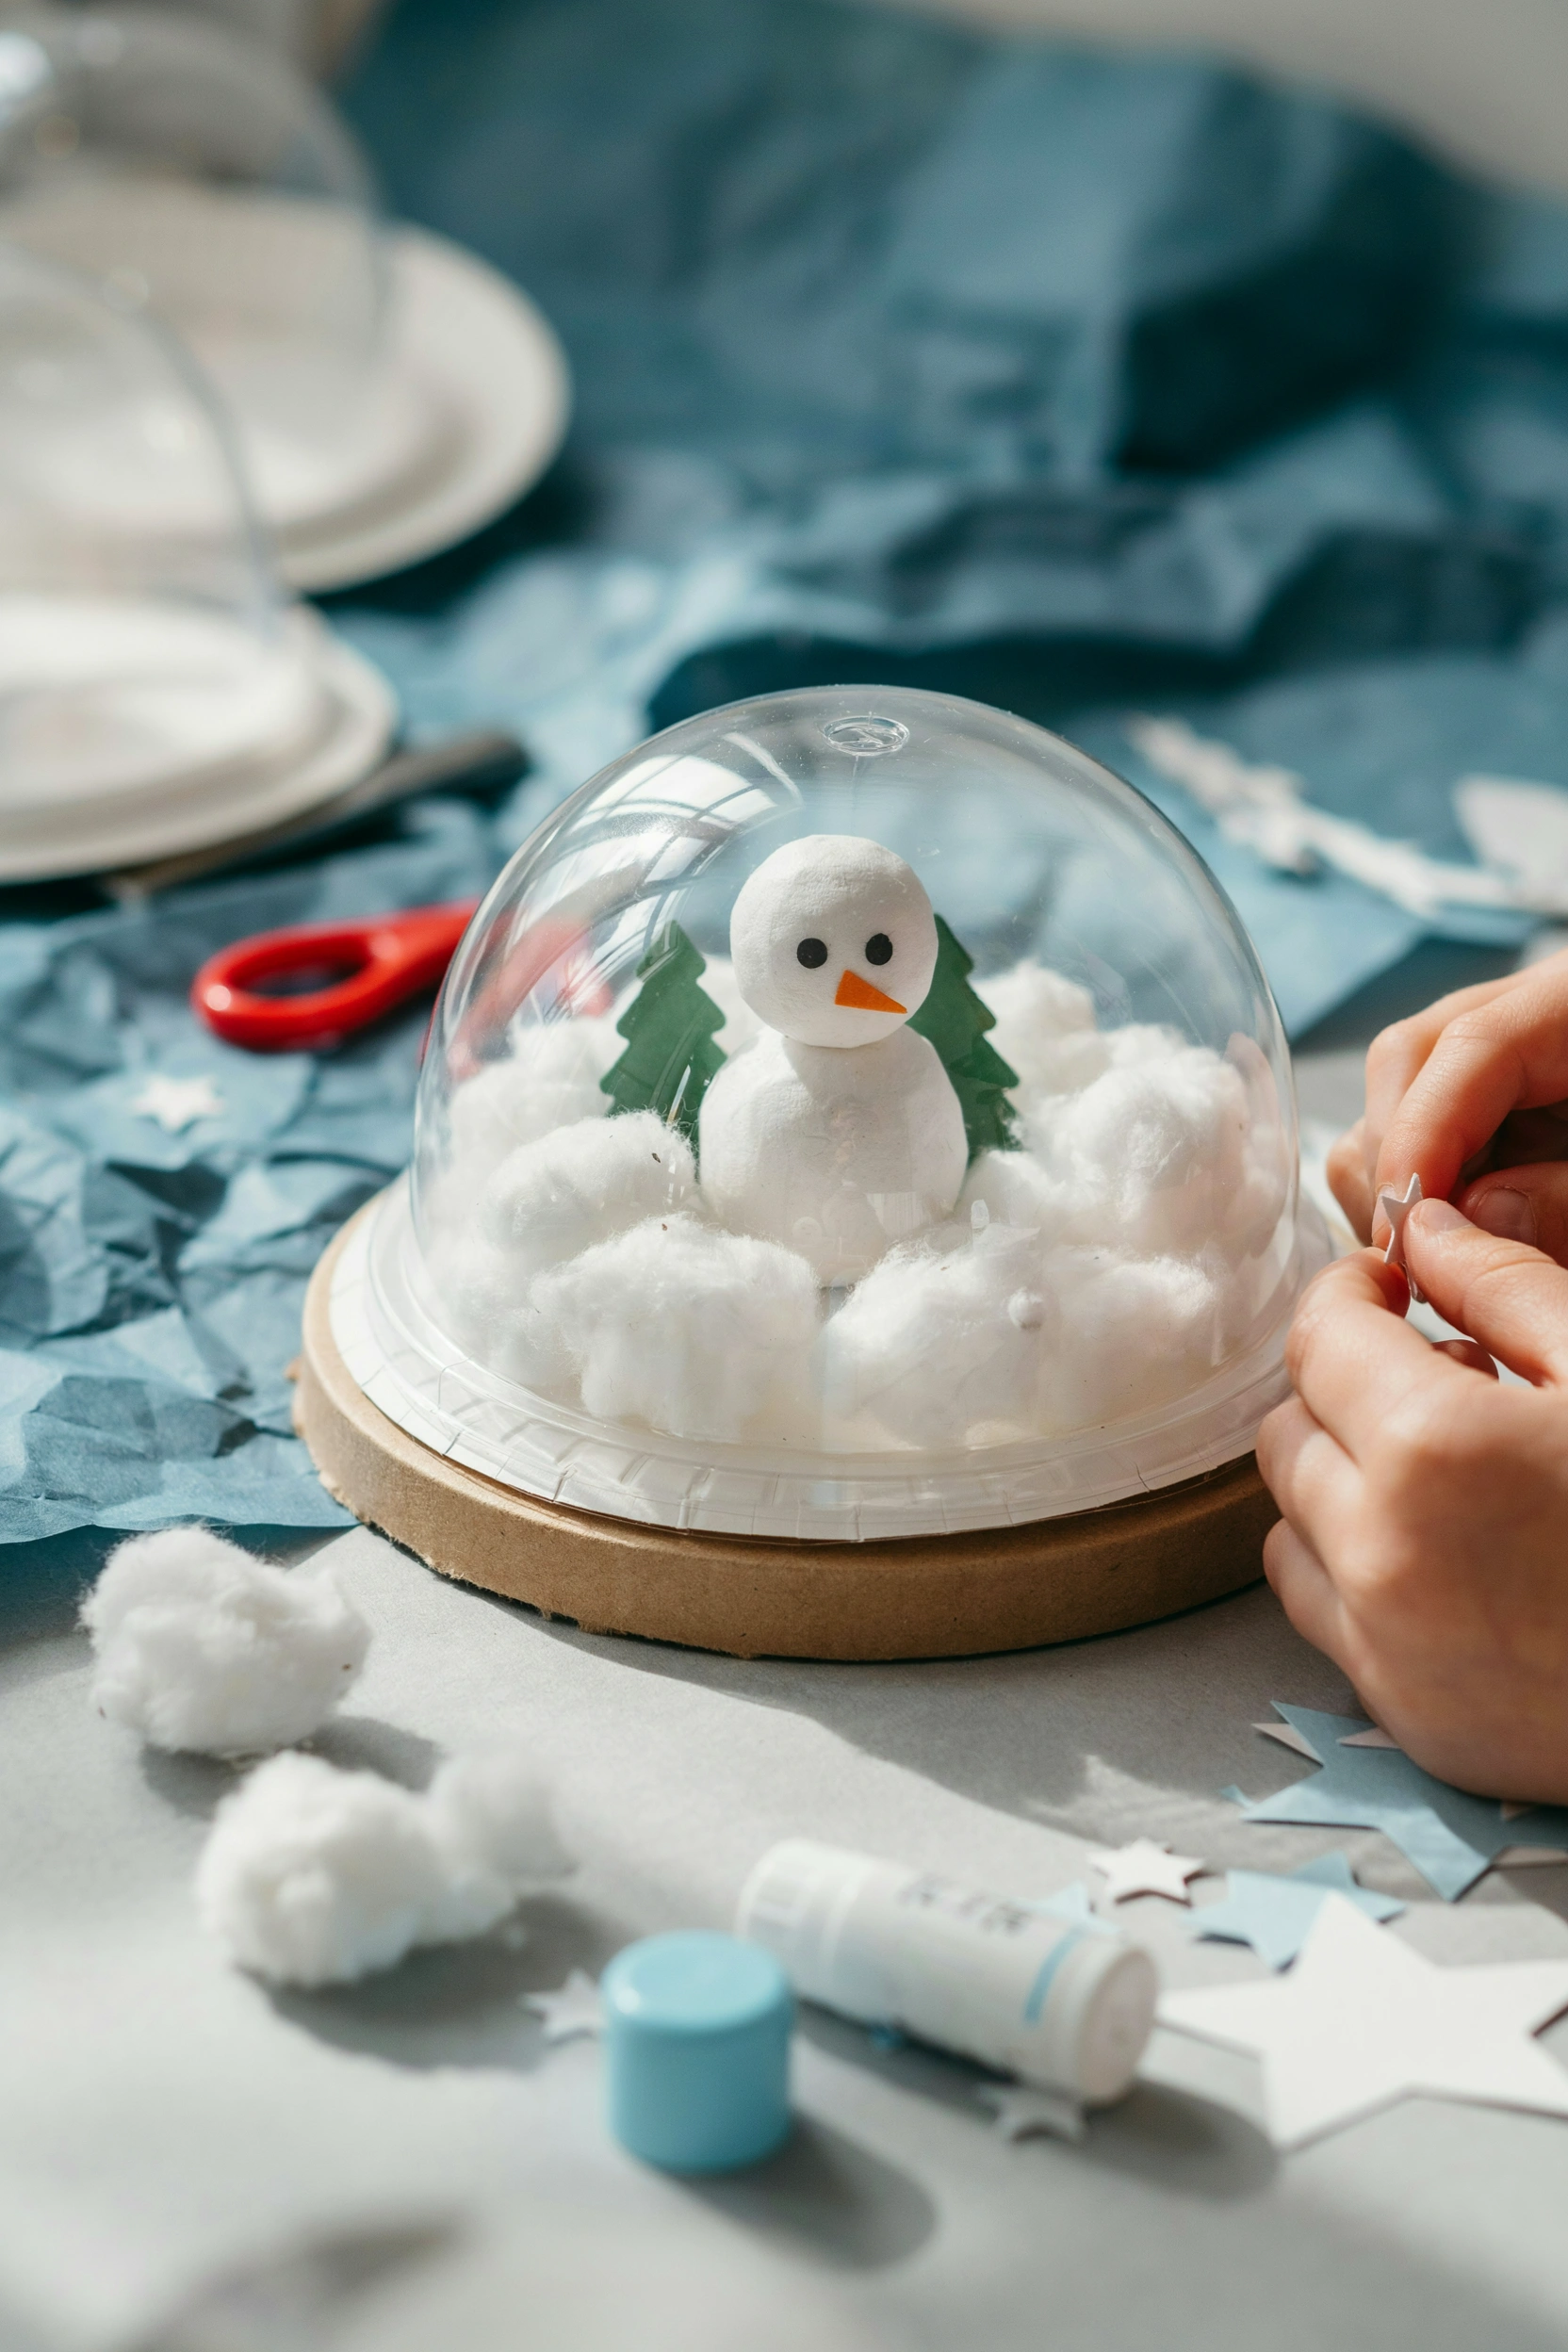
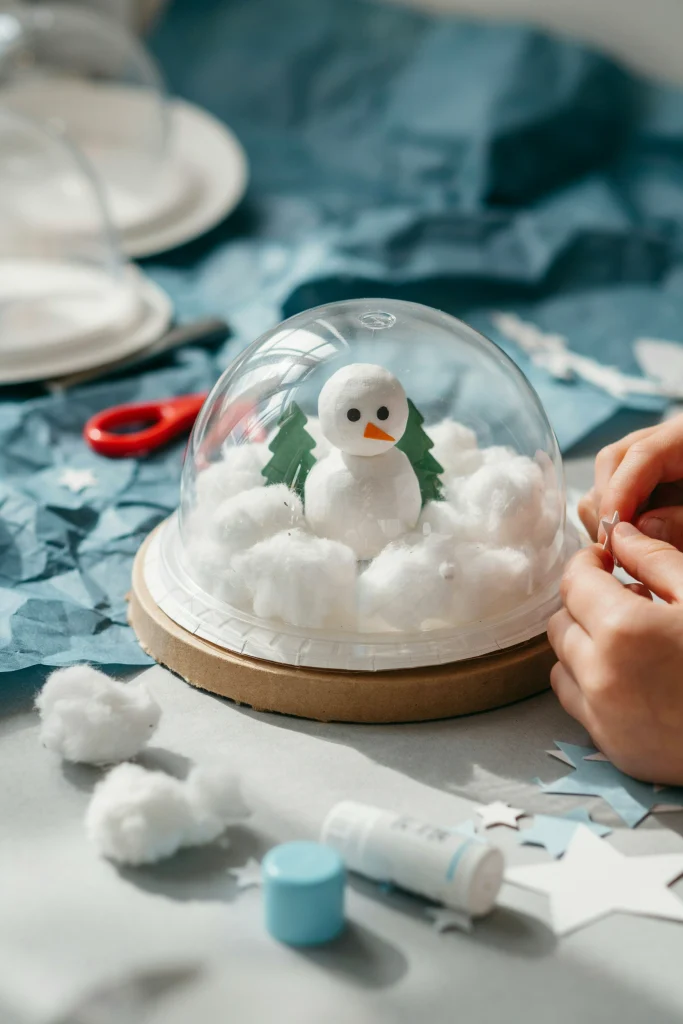
An upside-down clear plastic cup can transform a simple winter craft into a miniature snow globe display. Cover a cardboard circle with blue paper to create the base, then make small paper trees, snowmen, or houses with folded tabs so they stand upright. Arrange the characters with cotton-ball snow before placing the clear cup over the scene. Secure the cup’s rim to the cardboard base with glue or tape.
Pro Tip: Create a tiny winter village with one house, two trees, and a paper pathway for a charming miniature display.
7. Snow Globe Christmas Ornament

Make the Christmas tree extra special with lightweight snow globe ornaments designed by little hands. Cut a snow globe shape with a small base from cardstock, then let children draw a winter scene inside using markers and white paint. Once the artwork is completely dry, punch a hole near the top and thread a ribbon through it. Add the year to the back to turn the ornament into a seasonal memory.
Pro Tip: Use cardstock instead of thin paper so the ornaments hold their shape when hung on the Christmas tree.
8. Fingerprint Snow Globe

Fingerprint snow globes turn tiny painted fingerprints into adorable falling snowflakes, making each child’s artwork personal. Cut a large circle from blue cardstock and add a paper snowman or winter tree in the middle. Let children dip their fingertips into white washable paint and gently press around the scene to create snowy details. Once the paint dries, attach a paper base to complete the globe.
Pro Tip: Leave a little space between fingerprints so the snowflakes frame the winter scene without covering the main decoration.
9. Puffy Paint Snow Globe

Puffy paint adds a fun raised texture that makes handmade snow globe pictures feel more realistic. Begin with a sturdy cardstock globe and create a winter scene using construction paper, markers, or simple drawings. Apply white dimensional craft paint along the ground, tree branches, and rooftops to create snowy surfaces. Add a few dots around the sky for falling snow, then leave the project flat until everything dries completely.
Pro Tip: Follow the paint’s age recommendations and supervise younger children during decorating to keep the activity safe and manageable.
10. Torn Paper Snow Globe

Torn paper snow globes are perfect for children who enjoy creative activities without needing scissors for every step. Prepare a blue cardstock globe and a matching paper base, then let kids tear white paper into small pieces to create snowy ground. Larger torn pieces can become a snowman or rolling snowy hills, while tiny scraps represent falling snowflakes. The uneven paper edges give the finished artwork a soft, textured winter appearance.
Pro Tip: Offer different shades of white and light blue paper to add depth and variety to the snowy scene.
11. Penguin Snow Globe
A cute penguin makes a wonderful centerpiece for a winter snow globe craft. Cut an oval from black paper for the body and add a smaller white oval for the belly, followed by orange paper feet and a little beak. Glue the penguin inside a blue cardstock globe and create a snowy ground with white paper. Finish with white paint snowflakes and fun accessories like a scarf, earmuffs, or winter hat.
Pro Tip: Let children choose colorful accessories for their penguin to encourage creativity and give each project its own personality.
12. Polar Bear Snow Globe

This polar bear snow globe is a sweet winter craft that works beautifully beyond the Christmas season. Cut a large white oval for the bear’s body, a smaller circle for its head, and two little circles for the ears. Arrange the pieces inside a blue cardstock globe, then use a black marker to draw the face and paws. Add cotton-ball snow along the bottom to create a soft Arctic-inspired setting.
Pro Tip: Try making an oversized polar bear face that fills most of the globe for a simple design that younger children can assemble easily.
13. Christmas Tree Snow Globe
A decorated Christmas tree brings a festive touch to this easy paper snow globe craft. Cut a green triangle and a small brown rectangle for the tree trunk, then glue both pieces inside a blue cardstock globe. Add tiny paper ornaments, a star on top, and white paint snowflakes to complete the winter scene. A white paper snowbank underneath the tree gives the finished design a cozy Christmas feel.
Pro Tip: Set out several colors of paper scraps so children can decorate their trees with their own creative ornament combinations.
14. Handprint Tree Snow Globe

A handprint tree turns an ordinary snow globe craft into a special keepsake that captures a child’s little hand. Trace their hand onto green paper and carefully cut out the shape, then turn it so the fingers point downward to resemble tree branches. Add a brown paper trunk and glue the tree inside a large blue cardstock globe. Finish with paper ornaments and white paint snow before writing your child’s age on the back.
Pro Tip: Make a new handprint tree each winter so you can look back and see how much your child’s hands have grown.
15. Snow Globe Greeting Card
Combine crafting and gift-giving with a handmade snow globe greeting card that family and friends will love receiving. Fold a piece of cardstock in half, then glue a blue paper circle onto the front with a brown paper base underneath. Create a tiny winter scene inside the circle using paper shapes or markers, and decorate it with falling snowflakes. Add a cheerful handwritten message inside to complete the card.
Pro Tip: Use a simple greeting such as “Sending you a little winter magic!” to make the handmade card feel warm and personal.
16. Contact Paper Snow Globe Suncatcher

A contact paper snow globe suncatcher looks beautiful hanging in a window where natural daylight can shine through its colors. Cut a globe-shaped frame from cardstock, leaving an open center, and attach it to the sticky side of clear contact paper. Let children fill the opening with small pieces of blue and white tissue paper and a few paper snowflakes. Cover everything with a second sheet of contact paper, trim the edges, and add a paper base before displaying it.
Pro Tip: Use different shades of blue tissue paper to create a layered winter effect when sunlight passes through the finished suncatcher.
17. Paper Bag Snow Globe Puppet
Give a handmade snow globe a playful twist by turning it into a paper bag puppet for winter storytelling. Create a cardstock snow globe with a snowman or winter animal inside, then attach it to the bottom flap of a paper lunch bag. Keep the glue away from the flap opening so the bag can still move properly. Once everything is dry, children can slip their hands inside and bring their snowy characters to life.
Pro Tip: Encourage kids to invent a short winter adventure for their puppet to make the craft part of an imaginative play activity.
18. Paper Snow Globe Shaker

A paper snow globe shaker combines a colorful winter picture with moving paper snow that children can watch as they tilt it. Create a winter scene on a blue cardstock circle, then place foam mounting tape around the edges to form a shallow pocket. Add a small amount of white paper confetti, cover the opening with a clear plastic circle, and secure the edges with strong tape. Finish with a cardstock frame and base so the snow moves around when the craft is gently shaken.
Pro Tip: Have an adult assemble and inspect the sealed pocket to make sure the confetti stays enclosed, especially when younger children will be playing with it.
Tips for Making Snow Globe Crafts with Kids
A little preparation can make winter crafting more enjoyable and less stressful for everyone. Cut out larger shapes ahead of time for younger children, choose paper snow when you want easier cleanup, and keep designs simple enough for little hands to manage. Allow plenty of drying time for paint and glue, choose age-appropriate materials, and supervise children around small craft pieces. Most importantly, let kids make their own creative choices, even if their snowman has extra buttons or their penguin wears a purple scarf.
Pro Tip: Set up a small craft station with pre-cut paper, glue sticks, cotton balls, and washable paint before starting so children can enjoy creating without constant interruptions.
Make a Little Winter Magic

You don’t need expensive supplies or an elaborate craft setup to create something memorable with your children. A paper circle, a few cotton balls, and some imagination can become a charming little winter scene. These snow globe crafts for kids offer plenty of ways to enjoy a cozy afternoon, make handmade Christmas decorations, or create keepsakes that families can treasure for years.
Pro Tip: Let your child choose one favorite snow globe project and display the finished artwork somewhere special to celebrate their creativity.